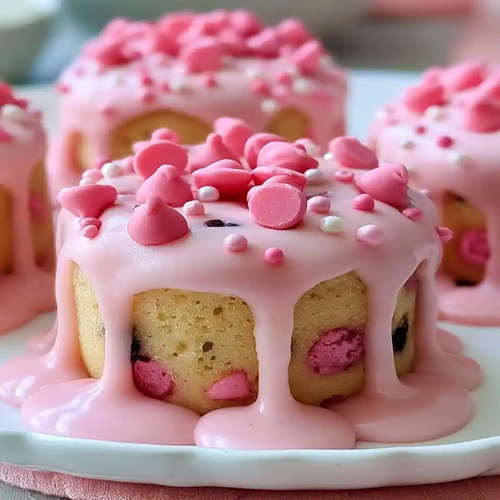
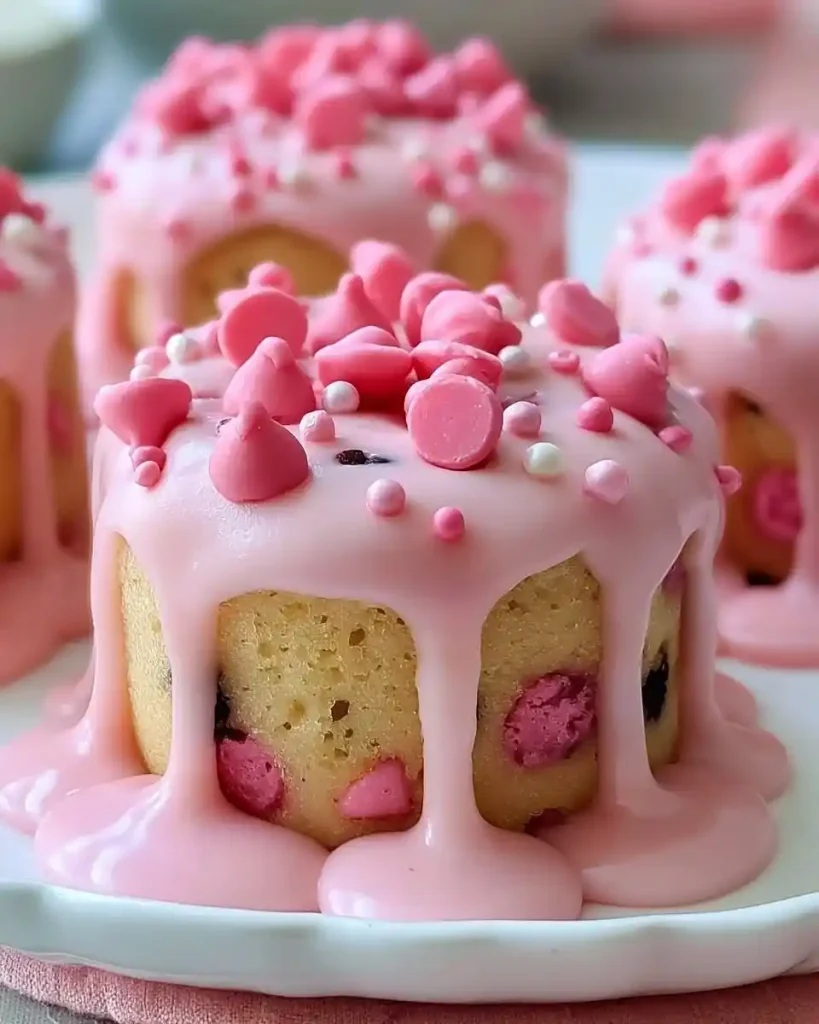
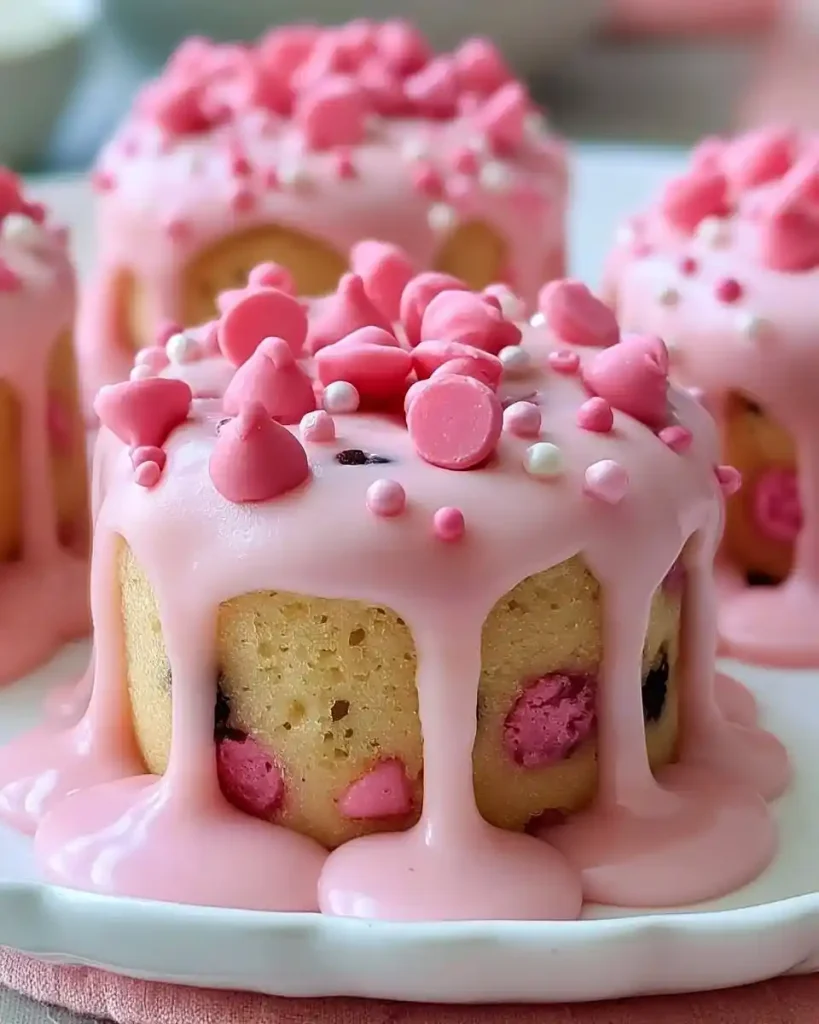
Soft pink mini cakes topped with a dome of cookie dough and a glossy pink chocolate drizzle. Doesn’t that already sound like the cutest dessert on the entire table?
I started making Pink Cookie Dough Mini Cakes for a friend’s birthday, and now I get asked to bring them to basically every celebration. Playful color, soft cake, and a cookie dough topping — it’s an unexpected combination that works incredibly well.
Why This Pink Cookie Dough Mini Cakes Recipe Just Works
This dessert combines three things people already love: soft vanilla cake, edible cookie dough, and a glossy chocolate drizzle. Stacking them together turns a simple mini cake into something that looks like it came straight from a specialty bakery.
Have you ever noticed how a splash of unexpected color instantly makes a dessert feel more festive? These pink mini cakes do exactly that, without requiring any complicated decorating skills.
IMO, that’s exactly why these become the centerpiece of any dessert table they show up on.
What You’ll Need for Pink Cookie Dough Mini Cakes
Here’s the full ingredient list with quantities, so there’s no guesswork at the store.
All-purpose flour — 1 1/2 cups
Unsalted butter — 1/2 cup, softened
Granulated sugar — 1 cup
Large eggs — 2
Vanilla extract — 1 teaspoon
Baking powder — 1/2 teaspoon
Milk — 1/2 cup
Egg-free cookie dough — 1 cup, store-bought or homemade
Pink chocolate chips — 1 cup
Vegetable oil — 1 tablespoon
Pink food coloring — optional
That’s the complete list. Most of it probably already lives in your baking pantry right now.
A Quick Note on the Cookie Dough
Egg-free cookie dough is essential here since it tops the finished cake without any further baking. Store-bought edible cookie dough works great if you want to save time, but homemade egg-free versions taste just as good if you prefer making everything from scratch.
How to Make Pink Cookie Dough Mini Cakes, Step by Step
This process has a few stages, but none of them are complicated. I’m walking through each one carefully so nothing feels rushed.
Step 1: Preheat and Prep the Pan
Preheat your oven to 350°F and grease a mini cake pan thoroughly with butter or nonstick spray. This greasing step matters more than it seems, since a well-prepared pan lets the cakes release cleanly once baked.
Step 2: Cream the Butter and Sugar
Add the softened butter and granulated sugar into a large mixing bowl. Beat everything together until the mixture turns light and noticeably fluffy. This step incorporates air into the batter, which helps the finished cakes rise with a soft, tender texture.
Don’t rush through this part. Properly creamed butter and sugar makes a real difference in how light the finished mini cakes turn out.
Step 3: Add the Eggs and Vanilla
Add the eggs one at a time, mixing thoroughly after each addition before adding the next. Stir in the vanilla extract once both eggs are fully incorporated. The batter should look smooth and pale at this point.
Step 4: Mix the Dry Ingredients Separately
In a separate bowl, whisk together the flour and baking powder. This ensures the leavening agent distributes evenly, which matters for a consistent rise across every mini cake.
Gradually add this dry mixture into the creamed butter and sugar, alternating with the milk as you go. Mix just until everything combines into a smooth batter, stopping as soon as no dry streaks remain.
Step 5: Add the Pink Color
If you want a brighter, more festive shade, add pink food coloring into the batter now. Mix just until the color distributes evenly throughout. Adjust the amount gradually until you reach your preferred shade, since it’s easier to add more than to tone it back down.
Step 6: Fill and Bake
Pour the batter into your prepared mini cake pan, filling each cavity about halfway. This leaves enough room for the batter to rise without overflowing the edges.
Bake for 12 to 15 minutes, checking with a toothpick inserted into the center. It should come out completely clean once the cakes are fully baked through.
Step 7: Cool Completely
Allow the cakes to cool fully in the pan before removing them. This resting period helps set their texture and makes them much easier to handle once you start adding toppings.
Skipping this step risks the cakes falling apart or sticking stubbornly to the pan. Patience here genuinely pays off.
Step 8: Top With Cookie Dough
Once the cakes have cooled completely, top each one generously with a dome of egg-free cookie dough. Press it gently so it sits securely without sliding off the top of the cake.
This cookie dough layer is really what makes these mini cakes stand out from a traditional dessert. Don’t be shy with the portion size here.
Step 9: Melt the Pink Chocolate
In a small saucepan, melt the pink chocolate chips together with the vegetable oil over low heat. Stir continuously until the mixture turns completely smooth and glossy. The oil helps thin the chocolate just enough for a clean, even drizzle.
Step 10: Drizzle and Set
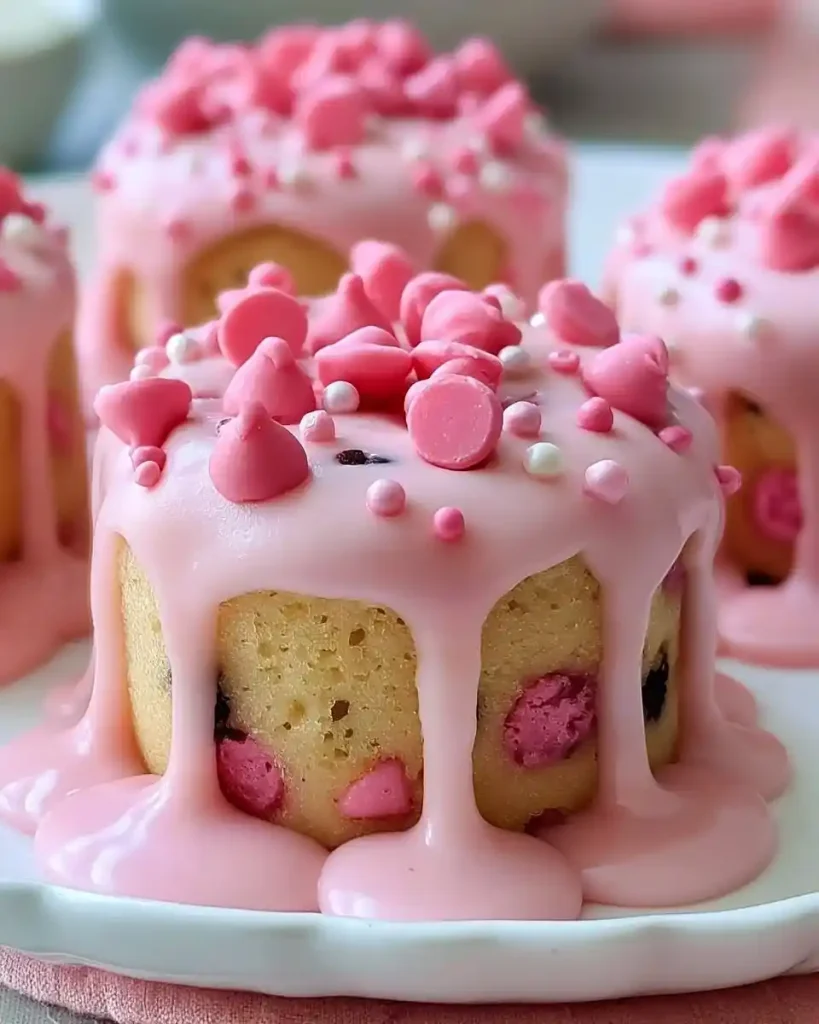
Drizzle the melted pink chocolate over each mini cake, letting it cascade naturally down the sides for that eye-catching bakery-style look. Allow the glaze to set fully before serving or storing.
FYI, this setting time is what keeps the chocolate from smearing the moment you pick one up.
Tips for Better Pink Cookie Dough Mini Cakes Every Time
A handful of small details separate a great batch from a messy one.
Grease the pan thoroughly to prevent sticking and ensure clean release
Don’t overmix the batter, or the cakes turn dense instead of soft
Cool the cakes completely before adding any toppings
Add food coloring gradually until you reach your desired shade
Let the chocolate glaze set fully before storing or serving
Easy Variations Worth Trying
Once you’ve made the base version, a few tweaks keep things interesting.
Nutty version: mix crushed nuts into the cookie dough topping for extra texture
Sprinkle version: add colorful sprinkles onto the chocolate glaze before it sets
Classic chocolate version: swap the pink chocolate chips for regular ones
Fruity version: add a splash of fruity extract to the batter for a different flavor twist
Dairy-free version: substitute coconut oil for the butter throughout the recipe
Have you tried the sprinkle version yet? IMO it makes these mini cakes look even more like a genuine bakery treat.
What to Serve Alongside Pink Cookie Dough Mini Cakes
These mini cakes pair well with a handful of simple sides and drinks.
Fresh strawberries or raspberries for a tart contrast
A scoop of vanilla ice cream
An extra drizzle of chocolate sauce
A dollop of whipped cream
A cup of coffee, tea, or a cold glass of milk
FAQs About Pink Cookie Dough Mini Cakes
Can I make these mini cakes without eggs? Yes, substitute each egg with a chia seed or flaxseed mixture, or use a commercial egg replacer for a fully egg-free version.
Can I use regular chocolate chips instead of pink ones? Certainly. Regular chocolate chips work just as well and still create a delicious finished cake, just with a different visual appearance.
How do I prevent the cakes from sticking to the pan? Grease the pan thoroughly before adding the batter. Lining the bottom of each cavity with a small parchment circle adds extra insurance against sticking.
What can I do with leftover cookie dough? Leftover edible cookie dough works great as an ice cream topping or can be shaped and enjoyed straight as a simple no-bake treat.
Are these mini cakes suitable for kids? Definitely. Their playful color and sweet flavor make them a hit with kids, just double-check any allergenic ingredients in your specific cookie dough.
How should I store leftover mini cakes? Store them in an airtight container in the refrigerator for up to three days, or freeze well-wrapped portions for up to a month.
Final Thoughts on Pink Cookie Dough Mini Cakes
This recipe proves that a genuinely fun dessert doesn’t need complicated decorating skills or hours of effort. Soft pink cake, a generous dome of cookie dough, and a glossy chocolate drizzle come together into something that feels like a celebration on its own.
Make a batch for your next gathering and watch how quickly they disappear off the tray. Give it a try, and I promise these become the dessert everyone starts requesting by name.
credirt: kitchenlyhub